2026 How to Replace a Wheel Stud Bolt Guide for Beginners
Replacing a Wheel Stud Bolt may seem daunting for beginners. However, it's a task that can save you time and money. Understanding the basics empowers you to maintain your vehicle effectively.
A Wheel Stud Bolt is essential for securing the wheel to the hub. When damaged, it can lead to serious safety issues. Noticing signs of wear or breakage is crucial. Sometimes we overlook small details, thinking they are trivial. It’s better to be proactive than reactive.
In this guide, you'll learn step-by-step procedures. You'll discover tools needed and helpful tips for a successful replacement. Each step is vital to ensure the job is done correctly. Mistakes can happen, but learning from them can improve your skills. So, gather your tools and get ready for a rewarding experience!
Understanding Wheel Stud Bolts and Their Importance
Wheel stud bolts are crucial components of any vehicle. They secure the wheel to the hub, ensuring safety and stability. Without strong and reliable studs, wheels can become loose. This can lead to serious accidents. Many drivers overlook their importance until it’s too late.
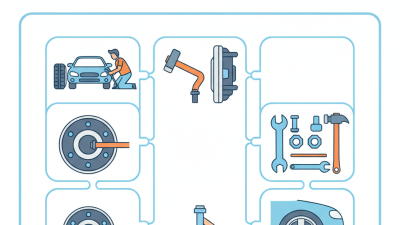
Replacing a wheel stud bolt can seem daunting for beginners. However, understanding the basics makes the process easier. These bolts rust or break over time. Inspecting them regularly can prevent mishaps. If you notice any signs of wear, it’s time to act. Gathering the right tools is essential. A wrench and a jack should be your first steps.
Mistakes are common during replacements. Incorrect torque can lead to issues. Taking your time is valuable. Rushing might cause more harm than good. Always refer to guides or tutorials for assistance. Exploring and learning through your own experience can be rewarding. Embrace the challenge. The confidence gained from mastering this task will improve your skills.
2026 How to Replace a Wheel Stud Bolt Guide for Beginners - Understanding Wheel Stud Bolts and Their Importance
| Dimension |
Details |
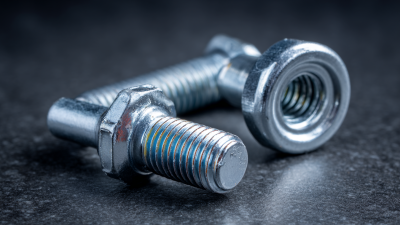
| Wheel Stud Bolt Material |
High-grade steel for durability |
| Thread Size |
M12 x 1.5 or M14 x 1.5 depending on vehicle |
| Typical Torque Specification |
70-100 lb-ft |
| Signs of Damage |
Stripped threads, cracks, or bending |
| Replacement Frequency |
As needed, inspect annually or after tire changes |
| Tools Required |
Socket wrench, torque wrench, impact driver |
| Approximate Cost |
$2 - $10 per stud bolt |
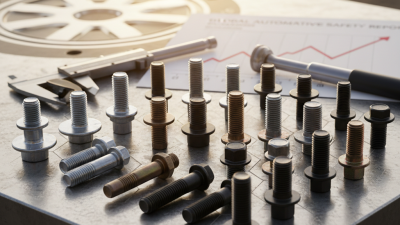
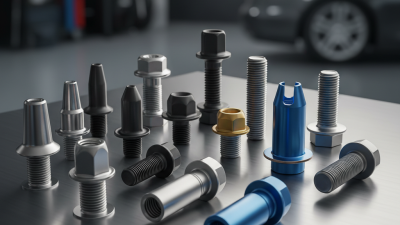
Tools and Materials Needed for Replacing Wheel Stud Bolts
When replacing wheel stud bolts, having the right tools and materials is crucial. Start with a lug wrench or impact wrench. These will help you remove the wheel quickly. You will also need a jack and jack stands for safety. A torque wrench is essential for tightening the new bolts properly. Don't forget gloves and safety glasses to protect yourself.
Materials are just as important. New wheel stud bolts are necessary for the replacement. Ensure they are the right size for your vehicle. Thread-locking compound can help secure the bolts better. It's a small detail, but it makes a difference. Keep a clean cloth handy to wipe any grease or dirt around the hub area.
While gathering tools, remember to check their condition. A rusted wrench can slip and cause damage. Sometimes, people underestimate the importance of organization. Having all tools at hand saves time and frustration. If an item is missing, it can halt the process. Take a moment to double-check your inventory. Being prepared is key to a smoother replacement experience.
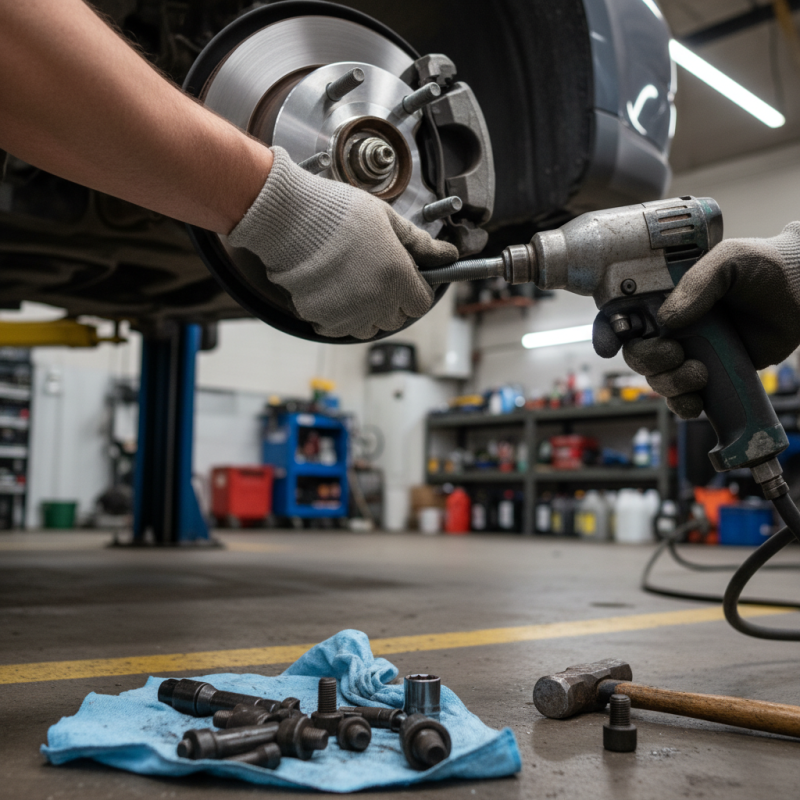
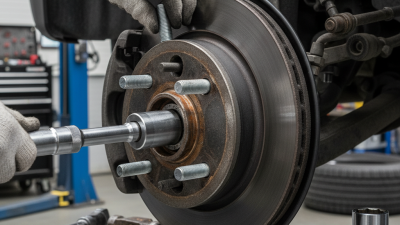
Step-by-Step Instructions for Removing Damaged Wheel Stud Bolts
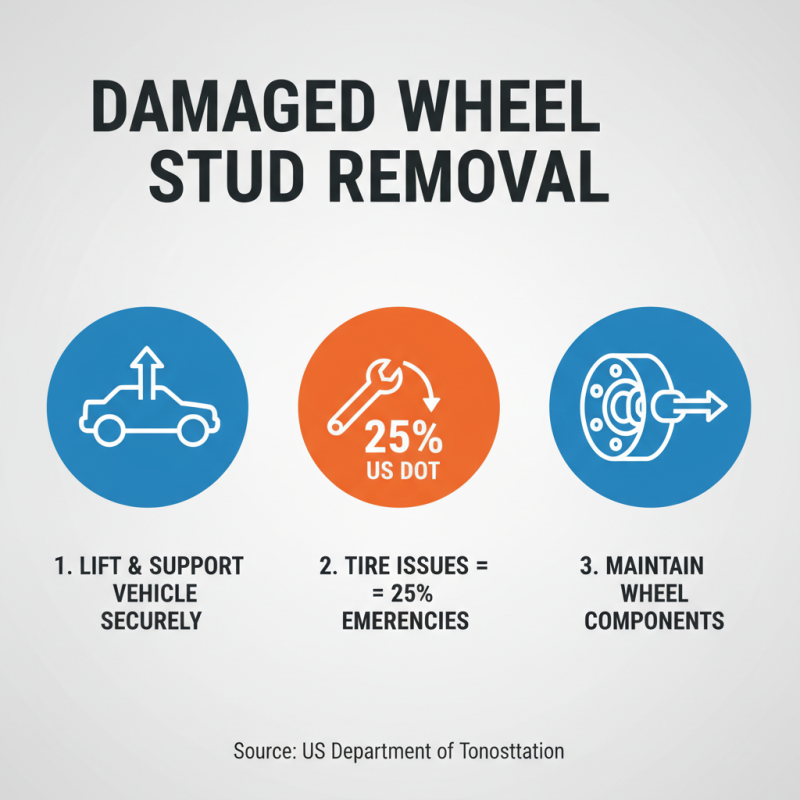
When faced with a damaged wheel stud bolt, knowing how to remove it is crucial. Start by lifting the vehicle with a jack and securely supporting it. According to the U.S. Department of Transportation, nearly 25% of roadside emergencies stem from tire issues. This underlines the importance of maintaining wheel components.
Make sure to gather the right tools: a lug wrench, penetrating oil, and a torque wrench. Spray the penetrating oil on the damaged bolt and let it sit for at least 10 minutes. This eases removal. Use the lug wrench to carefully unscrew the bolt. If it feels too tight, pause and reconsider the force applied; overstraining could damage surrounding components.
Tip: Avoid using lubricants that contain petroleum. They can degrade rubber components in the area. After removal, inspect the threads on the hub. A worn thread could indicate a greater issue. Always ensure the new bolt matches the old one's specifications. Some might overlook checking compatibility, leading to unsafe driving conditions.
Installing New Wheel Stud Bolts: A Comprehensive Guide
Installing new wheel stud bolts can seem daunting. However, with the right guidance, it is manageable for beginners. Start by gathering your tools: a lug wrench, a jack, and a torque wrench.
Remember, safety is crucial. Ensure your vehicle is stable before you begin.
To replace a wheel stud bolt, you need patience. Remove the wheel and inspect the hub. If the stud is broken or stripped, it will require careful extraction. Use the lug wrench to loosen bolts, but don't rush. It’s easy to strip a bolt if you apply too much force.
Tips: Always wear gloves for grip and protection. If you're struggling with a stuck bolt, a bit of penetrating oil can help. Also, double-check your torque settings when reinstalling. Ensuring the correct torque can prevent future issues.
Sometimes things go wrong, and that's okay. You might find a stud that won’t budge. This can lead to frustrations. Take a step back and reassess your methods. Refining your approach is part of learning. Remember, every mistake teaches you something valuable.
Common Mistakes to Avoid When Replacing Wheel Stud Bolts
Replacing wheel stud bolts can seem straightforward, but many beginners make common mistakes.
One significant error is not checking the hub for wear. If the hub is damaged, new bolts may not fit correctly.
It’s essential to inspect everything carefully before starting the replacement process.
Another mistake is using incorrect torque settings. Many tend to over-tighten bolts, which can lead to stripping threads.
Always refer to guidelines specific to your vehicle type. Also, ensure you have the right tools. A good socket set and a torque wrench are vital for this task.
Failing to use proper tools can lead to complications.
Many forget to secure the vehicle properly. A stable platform is crucial for safety. Using jack stands is a must, not just a jack.
Lastly, take your time. Rushing can lead to errors that affect performance. Each step matters.
Always double-check your work before driving away.