Leave Your Message

10 Tips for Choosing the Right Wheel Stud Bolt

Choosing the correct Wheel Stud Bolt is a safety decision, not a simple parts purchase. A small mismatch can affect thread engagement, clamping force, wheel seating, and service life. The risk becomes more visible as vehicles age. S&P Global Mobility reported that the average age of vehicles in the United States reached approximately 12.6 years in 2024. Older vehicles often require replacement fasteners during brake, hub, or suspension repairs.

The details matter.

NHTSA’s TireWise guidance emphasizes correct wheel installation, proper torque, and regular inspection. Federal Motor Vehicle Safety Standard No. 110 also addresses tire selection, rim compatibility, and vehicle loading information. These requirements do not replace the vehicle manufacturer’s service instructions. They reinforce why fitment should be verified carefully.

Material strength matters too. SAE J429 and ISO 898-1 provide recognized frameworks for mechanical properties in fasteners. However, a stronger-looking stud is not automatically the right stud. Thread diameter, pitch, knurl dimensions, shoulder length, grade, coating, and hub design must match the application. A catalog description can still hide a critical difference.

That is where practical judgment helps. Measure the original stud. Check the service manual. Confirm torque specifications with reliable documentation. Avoid guessing from appearance alone.

This guide presents 10 practical tips for choosing the right Wheel Stud Bolt. It combines workshop experience, engineering principles, and manufacturer guidance. Some recommendations may seem obvious. They are still frequently missed. A careful review can prevent repeated repairs, damaged hubs, and unsafe wheel installation.
10 Tips for Choosing the Right Wheel Stud Bolt

Understanding Wheel Stud Bolt Types and Applications

10 Tips for Choosing the Right Wheel Stud Bolt

Understanding Wheel Stud Bolt Types and Applications

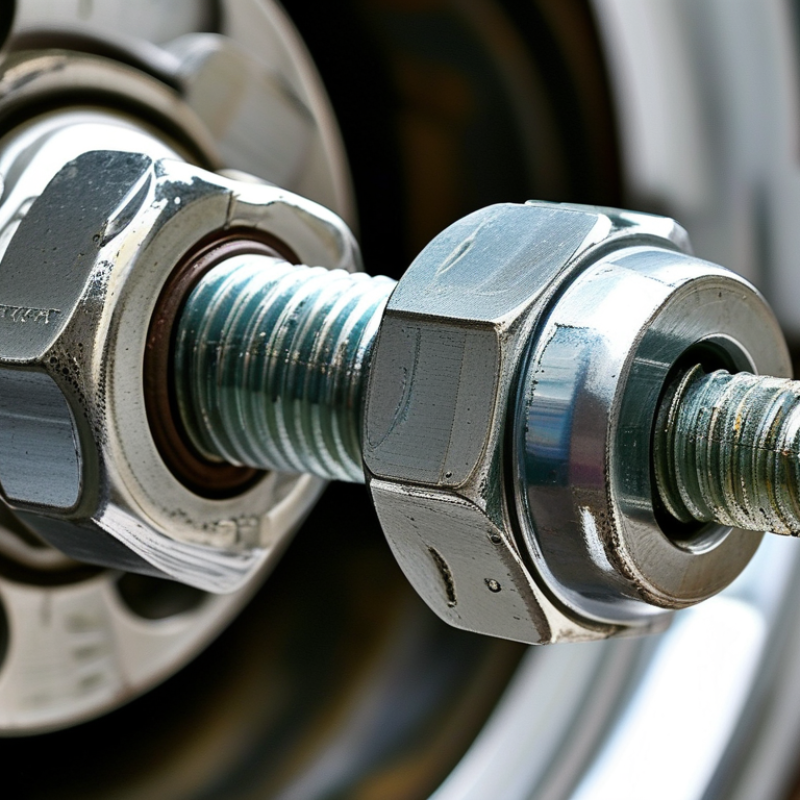
Selecting a wheel stud bolt starts with recognizing that studs are not interchangeable, even when they look nearly identical. Press-in studs use a knurled section that locks inside the hub. Screw-in studs use threads at both ends and require precise seating. Some designs include shoulders, while others depend on a fully threaded connection. The hub design decides which type belongs there.

Passenger cars often use compact studs with moderate tensile strength. Heavy-duty vehicles need larger diameters, stronger materials, and deeper thread engagement. Off-road applications may require extra resistance to vibration and impact. Measure the thread diameter, pitch, length, and knurl size before ordering. Check the hub material too. A mismatched knurl can damage the bore. It may still appear secure.

Installation quality affects service life as much as bolt selection. Remove rust and debris from the mounting surface. Press-in studs must seat squarely, without hammering the threads. Screw-in studs need clean threads and controlled tightening. Use a calibrated torque wrench, then follow the vehicle maker’s specifications. Do not rely on “tight enough.” I once assumed a visually aligned stud was properly seated, but a later inspection showed a small gap behind the shoulder. That mistake reinforced a useful habit: inspect the rear side whenever access allows. Recheck the wheel after initial use, especially when vibration, heat, or uneven loading is expected.
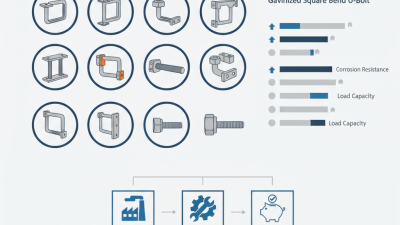
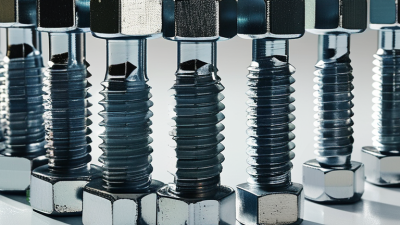
Matching Thread Size, Pitch, and Vehicle Specifications

10 Tips for Choosing the Right Wheel Stud Bolt

Choosing the right wheel stud bolt starts with thread compatibility, not appearance. I learned this after finding a visually similar bolt with a different pitch. It entered the hub, but resistance appeared almost immediately. Thread size identifies the bolt’s diameter. Thread pitch identifies the distance between threads. Metric pitch uses millimeters, while inch threads use threads per inch. Use a pitch gauge whenever possible. Do not force a doubtful bolt. Stop there.

Vehicle specifications matter just as much. Check the service manual for thread diameter, pitch, stud length, seating style, and required torque. Confirm the wheel’s mounting surface matches the bolt or nut design. A conical seat and a flat seat are not interchangeable. Measure exposed thread length after mounting the wheel. Too little engagement weakens the connection. Too much length may contact internal components. Small details matter.

Material grade and corrosion resistance also deserve attention. Choose hardware rated for wheel applications, not general-purpose fasteners. Clean damaged threads with care, and replace stretched or heavily rusted parts. Install threads by hand before using a tool. Then tighten in a star pattern with a calibrated torque wrench. I sometimes recheck my assumptions twice, because a familiar vehicle can still have different specifications. Recheck torque after driving, following the vehicle maker’s guidance. Loose hardware gives little warning.

Checking Material Strength, Coating, and Load Capacity

Choosing the Right Wheel Stud Bolt

Material strength should match the vehicle’s real demands, not just its appearance. High-strength steel is common because it handles repeated tension and vibration. Check the bolt’s grade, tensile strength, and yield strength on reliable technical documents. A heavier vehicle may need greater load capacity, but higher strength alone does not guarantee safety. Thread engagement, stud diameter, and correct tightening torque also matter. I have seen bolts look robust while offering too little thread contact.

Coating protects the stud from moisture, road salt, and rust. Zinc-based coatings can improve corrosion resistance, but damaged surfaces may still deteriorate quickly. Inspect the threads and shoulder area closely. A rough coating can affect nut fit and torque readings. Test reports should identify coating thickness, corrosion performance, and temperature limits. Do not trust a bright finish by itself. It can be misleading.

Load capacity should reflect static weight and repeated impact. Consider passengers, cargo, braking forces, and uneven roads. Compare the stud’s rated capacity with the wheel assembly requirements, then leave a sensible safety margin. Use a calibrated torque wrench and follow the correct tightening sequence. Recheck torque after installation if the service guidance requires it. Small errors matter. My own early inspections focused too much on strength markings and too little on corrosion around the seating surface. That was a useful correction. When specifications conflict, ask a qualified technician or the vehicle maker for written guidance.

10 Tips for Choosing the Right Wheel Stud Bolt - Checking Material Strength, Coating, and Load Capacity

No. Selection Area What to Check Practical Reference Recommended Action
1 Material Grade Confirm the stud material and mechanical property class, rather than selecting by appearance alone. Common high-strength fastener classes include ISO 898-1 class 10.9, with a nominal tensile strength of approximately 1,000 MPa and yield strength of approximately 900 MPa. Use the vehicle or axle manufacturer’s specified grade. Do not replace a high-strength stud with a lower-grade general-purpose bolt.
2 Tensile and Yield Strength Check tensile strength, proof load, yield strength, and fatigue performance in the technical certificate. Wheel studs experience repeated tension and shear. A higher tensile rating alone does not guarantee suitability if the stud geometry, heat treatment, or fatigue performance is incorrect. Request a material test report or certificate and compare the values with the original equipment specification.
3 Load Capacity Consider vehicle weight, payload, axle load, wheel count, cornering forces, braking loads, and impact conditions. The required capacity should be based on the maximum permitted axle load and the number of correctly functioning studs, with an engineering safety factor applied. Never calculate capacity from tensile strength alone. Follow the vehicle, wheel, and axle assembly load requirements.
4 Thread Size and Pitch Verify thread diameter, pitch, thread form, handedness, and the thread length on both ends where applicable. A visually similar thread can have a different pitch or tolerance. Incorrect thread engagement can reduce clamping force and damage the hub or nut. Measure the original part or use the approved dimensional drawing. Do not force mismatched threads together.
5 Thread Engagement Ensure sufficient full-thread engagement between the stud and nut while maintaining adequate clearance behind the wheel. For steel threaded assemblies, a commonly used preliminary guideline is engagement of approximately 1 to 1.5 times the nominal diameter, but the approved design requirement takes priority. Check that the nut achieves full engagement without bottoming out and that no unthreaded shank contacts the nut seating area.
6 Coating and Corrosion Protection Evaluate exposure to road salt, moisture, mud, brake dust, chemicals, and temperature changes. Zinc-flake coatings can provide strong corrosion resistance without introducing hydrogen during electroplating. Electroplated zinc requires appropriate post-treatment and hydrogen-embrittlement controls for high-strength parts. Select a coating qualified for the required corrosion test and temperature range. Keep bearing, thread, and seating surfaces compatible with the specified installation method.
7 Hydrogen Embrittlement Risk Pay special attention to high-strength studs that have been acid-cleaned, electroplated, or exposed to corrosive processes. Hydrogen embrittlement can cause delayed cracking in susceptible high-strength steel fasteners, especially when tensile stress is present. Request evidence of controlled cleaning, plating, baking, inspection, and process compliance from the supplier.
8 Fit, Seating, and Hub Compatibility Check shoulder diameter, knurl or spline dimensions, installation depth, runout, wheel-hole clearance, and hub material compatibility. An incorrect interference fit can loosen in service or damage the hub. A mismatched shoulder can prevent the stud from seating fully. Match all critical dimensions to the hub and wheel assembly drawing; replace damaged or enlarged hub holes before installation.
9 Torque and Clamping Force Use the specified nut torque, lubrication condition, thread condition, and tightening sequence. Torque is only an indirect method of controlling preload. Lubrication, coating, thread friction, and seating friction can significantly change the resulting clamping force. Use a calibrated torque tool and the approved torque value. Do not apply oil or anti-seize unless the service procedure permits it.
10 Inspection and Replacement Criteria Inspect for stretched threads, cracks, corrosion pits, bent studs, damaged splines, worn seating surfaces, and repeated loosening. A stud with visible deformation, severe corrosion, thread damage, or suspected fatigue cracking should not be returned to service. Replace damaged fasteners with the correct specification and recheck wheel seating and torque after the required service interval.

Note: The values above are general engineering references. Always confirm the final wheel stud specification, load rating, coating system, dimensions, and tightening procedure against the applicable vehicle, wheel, axle, and fastener requirements.

Evaluating Fitment, Installation Requirements, and Safety

10 Tips for Choosing the Right Wheel Stud Bolt

Evaluating Fitment, Installation Requirements, and Safety

Correct fitment begins with measurements, not appearance. Confirm thread diameter, pitch, knurl diameter, under-head length, and wheel-seat design. A stud that looks identical may still bottom out inside the hub. Check the vehicle service manual and the wheel manufacturer’s specifications. SAE J429 lists minimum mechanical properties for fastener grades, but a high-strength grade alone does not guarantee correct performance.

Installation quality matters just as much. Clean rust from mating surfaces, then inspect the hub, threads, and wheel holes under bright light. Never force a damaged nut onto a new stud. Apply lubricant only when the service procedure permits it, because lubrication can change clamping force. Use a calibrated torque wrench, tighten in a star pattern, and avoid impact tools for final tightening. Recheck torque after the first driving cycle. It is easy to overlook this step.

Safety consequences can be serious. The NHTSA Traffic Safety Facts 2021 report recorded 622 fatalities in tire-related crashes in the United States. That figure does not identify every wheel-fastener failure, but it shows why small installation errors deserve attention. ISO 898-1 classifies fasteners by tensile and yield strength, yet wheel studs require application-specific validation. Do not replace them with ordinary hardware. I still find people judging quality by bolt color or weight. That is unreliable. Inspect for thread engagement, proper seating, corrosion, and visible movement before returning the vehicle to service.

Comparing Quality, Compatibility, Cost, and Supplier Reliability

Tip: Compare quality before price. Wheel studs face repeated tension, vibration, corrosion, and temperature changes. ISO 898-1 defines mechanical property classes for fasteners, while SAE J429 provides common strength requirements. Ask for the material grade, hardness results, coating details, and lot-specific certificates. A bright finish proves little. Fit comes first.

Tip: Confirm compatibility with measurements, not photographs. Check thread diameter, pitch, knurl size, shoulder length, overall length, and wheel-seat design. Incorrect thread engagement can damage mating parts or reduce clamping force. Follow the vehicle maker’s torque procedure and use a calibrated wrench. NHTSA’s 2023 FARS recorded 40,901 U.S. traffic fatalities, so small hardware decisions deserve serious attention.

Tip: Calculate total cost and supplier reliability together. Include inspection, freight, replacement stock, testing, and possible downtime. I have learned that a clean spreadsheet can still hide a poor fit. Request sample approval, traceability, production capacity, and delivery records. Traceability matters. Suppliers should explain how they control heat treatment, thread accuracy, and coating thickness. ASTM or ISO test reports add confidence, but they should match the exact part and production lot. The lowest quotation may win today and lose tomorrow.

10 Tips for Choosing the Right Wheel Stud Bolt - Comparing Quality, Compatibility, Cost, and Supplier Reliability

Standardized nominal tensile strength of common ISO metric property classes used when evaluating wheel stud bolt quality.

ISO 898-1 defines nominal tensile-strength levels of 800 MPa for class 8.8, 1,000 MPa for class 10.9, and 1,200 MPa for class 12.9 fasteners. Select the property class only after confirming vehicle specifications, thread size and pitch, stud dimensions, seating geometry, corrosion protection, installation torque, total cost, quality documentation, and supplier consistency.