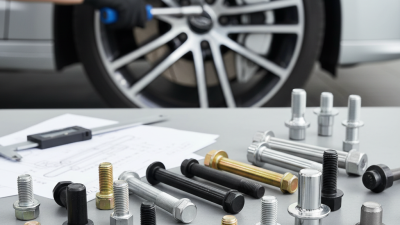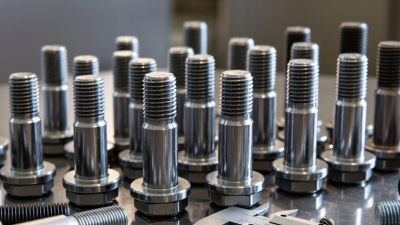
Choosing Alloy Wheel Bolts is a small decision with real consequences. The right set must match the wheel and vehicle, not just look clean behind the spokes. Seat shape matters: conical, ball, and flat-seat designs are not interchangeable. Thread diameter, pitch, bolt length, and the vehicle maker’s torque specification matter too. A bolt that seems close may still seat incorrectly.
Racing engineer Carroll Smith wrote extensively about fasteners in Carroll Smith’s Nuts, Bolts, Fasteners and Plumbing Handbook. A practical paraphrase of his fastener guidance is: “Choose the fastener for the joint, not for appearance.” That is a useful lens for this 2026 guide, though it is not a direct quotation. We’ll compare common bolt types and explain what to verify before buying, including the wheel’s seat profile and the required thread engagement. Check the wheel and vehicle documentation; when details conflict or remain unclear, ask a qualified fitment professional.
Installation deserves equal care. Clean mating surfaces, start each bolt by hand, and use a calibrated torque wrench at the specified setting. Don’t rely on an impact tool for final tightening. Recheck guidance for your specific setup, since requirements can vary. One honest limitation: a general guide cannot confirm fitment for every vehicle and aftermarket wheel combination. Measure, verify, then decide. That extra check may feel tedious, but it is better than trusting a bolt that merely looks right.
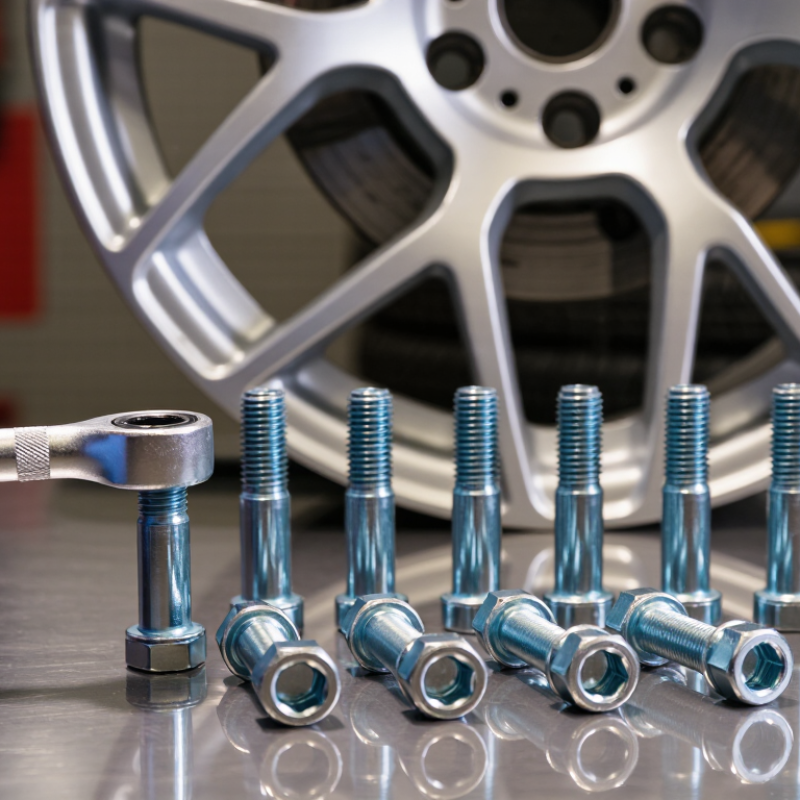
Correct alloy wheel bolt fitment depends on more than thread diameter. Check the thread diameter and pitch, seat shape, shank length, and available clearance behind the wheel. A conical seat looks tapered; a ball seat has a rounded contact surface. Using the wrong seat can concentrate clamping force and damage the wheel. Measure the threaded section, not just the whole bolt. Then confirm the vehicle maker’s specified torque; do not assume the old bolt’s length or torque is correct.
Tips: Match every dimension. Check one bolt by hand before fitting the full set. It should turn freely.
For a technical reference, ISO 898-1 assigns property class 10.9 a nominal tensile-strength level of 1,000 MPa. That strength marking describes the fastener material, not whether it fits your wheel. SAE J2530 defines performance requirements and test procedures for aftermarket road wheels; it is not a vehicle-specific bolt-fitment chart. Compare the wheel and vehicle specifications, and ask a qualified technician if seat type or thread engagement is uncertain. A bolt can appear close and still be wrong—that detail is easy to overlook.
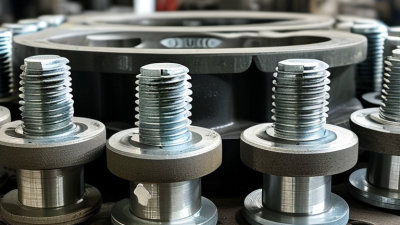
The correct alloy-wheel bolt seat is determined by the wheel, not just the vehicle. A 60-degree conical seat has straight, sloping sides. A ball seat has a rounded contact surface. A flat seat uses a washer, often with a longer shank. They are not interchangeable. Look closely at the wheel’s bolt holes: a cone should meet a cone evenly, while a ball seat needs a matching radius. No rocking. No narrow contact ring.
Check the wheel maker’s fitment specification before buying bolts, including thread size, seat shape, shank length, and required torque. SAE J2530 sets performance requirements and test procedures for aftermarket wheels; it is useful context, but it does not replace the wheel’s own seat specification. ISO 898-1:2013 lists a minimum tensile strength of 1,040 MPa for class 10.9 bolts in specified diameter ranges. That figure concerns bolt strength, not seat compatibility. A stronger bolt still cannot correct a mismatched seat. It is an easy detail to overlook. Inspect for uneven marks or damaged threads, and use a calibrated torque wrench with the vehicle or wheel maker’s specified value.
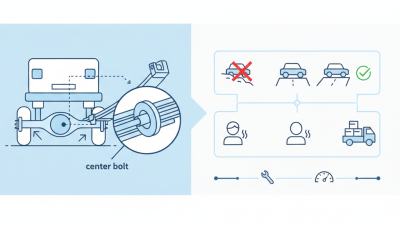
Bolt length is measured from the underside of the bolt head or seating surface to the tip. Too short, and the bolt may not engage enough hub threads; too long, and it can contact parts behind the hub. Check the wheel or vehicle maker’s specified length rather than guessing from the bolt’s overall size. Small differences matter. The seat shape matters too: a conical seat, rounded seat, and flat washer seat are not interchangeable.
Thread size describes the thread’s diameter, while pitch is the distance between thread peaks. A bolt with the correct diameter but wrong pitch may start to turn, then bind or damage the hub. Do not force it. Compare the specifications, and use a thread gauge if they are unclear. Hand-start each bolt for several turns before tightening; resistance at the start is a warning, not a reason to reach for a longer wrench. Even careful measurements can be misleading when old hardware is worn, so I would verify the bolt against the wheel’s fitment details before installation. Follow the specified tightening procedure and recheck after fitting, especially if the wheels or bolts have changed.
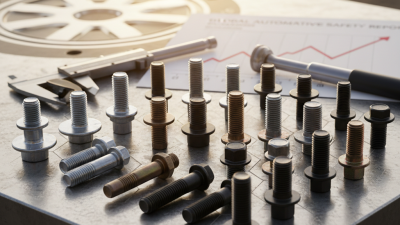
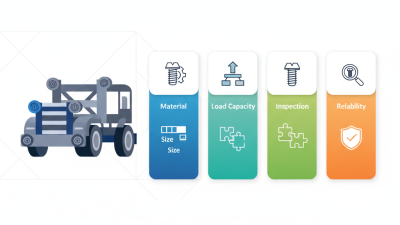
Choosing wheel bolts starts with matching the vehicle maker’s specification, not simply buying the highest grade. Alloy-steel bolts are widely used because they combine strength with practical weight and cost. ISO 898-1 class 10.9 identifies a nominal tensile strength of 1,000 MPa and a nominal yield strength of 900 MPa. These figures describe the class, not a guarantee that the bolt suits every wheel. A stronger bolt can still be wrong. Check thread diameter, pitch, seat shape, and shank length against the wheel and vehicle requirements.
For wet roads or winter salt, coating matters too. Zinc-based finishes can help resist corrosion, but damaged coatings may expose steel; inspect threads and seats during service. Stainless steel is not an automatic upgrade. ISO 3506-1:2020 lists A4-80 stainless fasteners with a minimum tensile strength of 800 MPa, yet corrosion resistance alone does not establish suitability for a wheel application. That distinction is easy to miss.
Use the specified material and grade, then tighten bolts with a calibrated torque wrench to the vehicle maker’s stated value. Do not copy torque figures from another vehicle: seat design and thread condition affect clamping force. ISO standards provide useful strength data, but they do not replace vehicle-specific fitment instructions. If the bolt grade is unreadable or corrosion has distorted its seat, pause and verify the specification before fitting it.
| Selection Factor | Common Option or Specification | Typical Properties | Suitable Use | Key Selection Guidance |
|---|---|---|---|---|
| Material | Heat-treated carbon or alloy steel | Common material for production wheel bolts; available with protective finishes such as zinc-flake coatings. | Everyday driving, most original-equipment applications, and many approved replacement applications. | Choose the material, strength class, and coating specified for the vehicle. A coating does not make an incorrectly sized or incorrectly seated bolt safe. |
| Strength class 8.8 | Steel property class 8.8 | ISO 898-1 nominal minimum tensile strength: 800 MPa; nominal minimum yield strength: 640 MPa. | Only applications whose vehicle or wheel-fastener specification calls for this class. | Do not assume 8.8 is suitable because the bolt fits. Confirm the required strength class and complete fastener specification. |
| Strength class 10.9 | Steel property class 10.9 | ISO 898-1 nominal minimum tensile strength: 1,000 MPa; nominal minimum yield strength: 900 MPa. | Common in automotive high-strength fasteners, including many vehicle-specific wheel-bolt applications. | Often appropriate only when it matches the vehicle’s specification. It is not a universal upgrade for a lower or different specified class. |
| Strength class 12.9 | Steel property class 12.9 | ISO 898-1 nominal minimum tensile strength: 1,200 MPa; nominal minimum yield strength: 1,080 MPa. | Specialized applications where the vehicle, wheel, or fastener manufacturer explicitly specifies this class. | Do not select it solely because the number is higher. The correct design, coating, installation procedure, and specification matter. |
| Stainless steel | For example, stainless property class A2-70 | ISO 3506-1 specifies a minimum tensile strength of 700 MPa for A2-70; stainless grades use a different classification system from ISO 898-1 steel classes. | Only a specifically engineered and approved application. | Do not substitute a stainless bolt for a specified wheel bolt based on corrosion resistance alone. Strength, fatigue behavior, friction, and compatibility must all be verified. |
| Aluminum fasteners | Aluminum-alloy wheel bolts | Properties depend on alloy and treatment; they are not interchangeable with steel bolts by appearance or dimensions. | Only purpose-designed applications that explicitly approve the exact fastener. | Do not use as a general road-vehicle replacement for steel wheel bolts unless the vehicle or wheel system specifically requires and approves them. |
| Thread diameter and pitch | Vehicle-specific metric thread; examples found on some vehicles include M12 × 1.5 and M14 × 1.5 | The first number is nominal thread diameter in millimeters; the second is thread pitch in millimeters. | Must match the vehicle hub exactly. | Examples are not universal fitment recommendations. Verify diameter, pitch, usable thread length, and any required engagement with reliable vehicle-specific data. |
| Seat shape | Conical, ball/radius, or flat seat with washer | The seat transfers clamping load between the bolt and wheel; these profiles are not interchangeable. | Must match the wheel’s bolt-seat design. | Check the wheel specification. Conical seats may use different angles, while ball seats have a specified radius; visual similarity is not enough. |
| Bolt length and shank | Length and shank profile matched to the wheel and hub | Too little engagement can reduce secure thread engagement; excessive length can interfere with components behind the hub. | Especially important when changing wheel design, spacer arrangement, or bolt style. | Confirm the specified length and check for adequate engagement and internal clearance. Do not estimate length from the visible portion of an installed bolt. |
| Finish and corrosion protection | Vehicle-approved protective finish, such as a zinc-flake coating | Coatings can help protect steel from corrosion; coating thickness and friction can affect installation behavior. | Daily driving and wet or winter conditions when the finish is compatible with the application. | Use a compatible finish and follow the specified installation procedure. Do not lubricate threads or seats unless the vehicle instructions require it, because friction changes can alter clamping force. |
| Torque and installation | Vehicle-specific torque value and tightening sequence | There is no single torque value that applies to all wheel bolts; torque depends on the complete fastener and wheel-hub system. | Every installation or reinstallation. | Use the vehicle or wheel manufacturer’s instructions and a suitable torque wrench. Do not rely on a generic torque chart or impact tool as the final tightening method. |
Important: Strength figures shown for ISO 898-1 property classes are nominal minimum values; applicable values can depend on the standard edition and fastener size. Always verify the exact bolt specification, wheel-seat type, thread, length, and installation procedure for the vehicle and wheel combination.
Before fitting alloy wheel bolts, confirm the thread diameter, pitch, bolt length, and seat shape match the wheel and vehicle. A conical seat cannot safely substitute for a ball seat. Check the manufacturer’s torque specification; there is no universal safe figure. Keep threads and seats clean and dry unless the vehicle maker specifies otherwise. Lubricant changes clamping force. Never guess.
Start each bolt by hand to avoid cross-threading, then snug them in a star pattern. Lower the vehicle until the tire just touches the ground, and tighten with a calibrated torque wrench. The Tire Industry Association’s Automotive Tire Service guidance recommends rechecking torque after 50–100 miles. Record the initial torque and recheck distance. SAE J2530 sets performance requirements for aftermarket wheels, but correct bolt fit and installation still depend on vehicle-specific instructions. In a busy shop, the follow-up can be postponed; a written reminder helps prevent that. After driving, stop if you hear clicking, feel vibration, or notice a loose bolt, and have the wheel inspected before continuing.
How to use this chart: These are examples of common metric thread pitches, measured as the distance between thread peaks. They are not interchangeable: confirm your vehicle’s specified thread diameter, pitch, bolt length, and seat type before fitting. Install bolts by hand first, tighten in the manufacturer’s recommended sequence, and use a calibrated torque wrench set to the vehicle maker’s specified torque. Recheck only as directed by the vehicle or wheel manufacturer.